After seeing what the walls looked like (you can see pictures here), I decided that I didn't want to add too much to take away from the incredible paint job by Robin Oas! So instead of adding some color, I tried to keep most things white so they would stand out, but not too much.
Before the painting ever began, I ordered 3 sets of decals to go in the room that I fell in love with online. The first was a growing tree but instead of actual measurements, it had the size of Dr. Seuss characters. I absolutely LOVE how it turned out and it's one of Kelly's favorite additions to the room.

The second decal I ordered was a combination of quotes from the Dr. Seuss book: All the Places You'll Go. I saw it on a wall, looked up the measurements and thought it would look brilliant, fresh and fun on the door to the nursery. It took the longest to install, but it is one of my favorite things in the room. I think it looks amazing!!!

The third decal I ordered were actually hand painted wall paper images of "Thing 1" & "Thing 2". After all of the room was painted, they didn't really go anymore where I wanted to put them. So I decided to put them on the doors to the bottom of the book case and I think it works perfectly! They are cute, playful, and add a small pop of color to the white wood. We got the bookcase at a mission garage sale, sanded it down and painted it ultra white. I bought new hardware at Anthropologie and the books are an assortment of sizes that we found at Half Price Books.

The dresser in the room was part of a furniture set that my grandparents bought for their 10 year wedding anniversary and gave us when we moved into this house. It is amazingly elegant and I thought that it would make a wonderful showcase piece in the nursery. So with the help of Kelly's aunt & uncle we sanded it down and painted it ultra white. I took the original drawer hardware and painted it fun colors. I found the door hardware at Nadeau and think it adds the whimsical touch it needed!


Lastly, the glider was a loan from my parents to use for now, the amazing black & white rug we got from Rug Gallery in Dallas, we got the crib off Craigslist, and the cute bedding online at Seuss Land. Also, I bought the white lamp from Ikea and then used markers to color in different colored circles all over it. It was a fun, cheap project!


I LOVE, LOVE, LOVE how it all turned out!!!
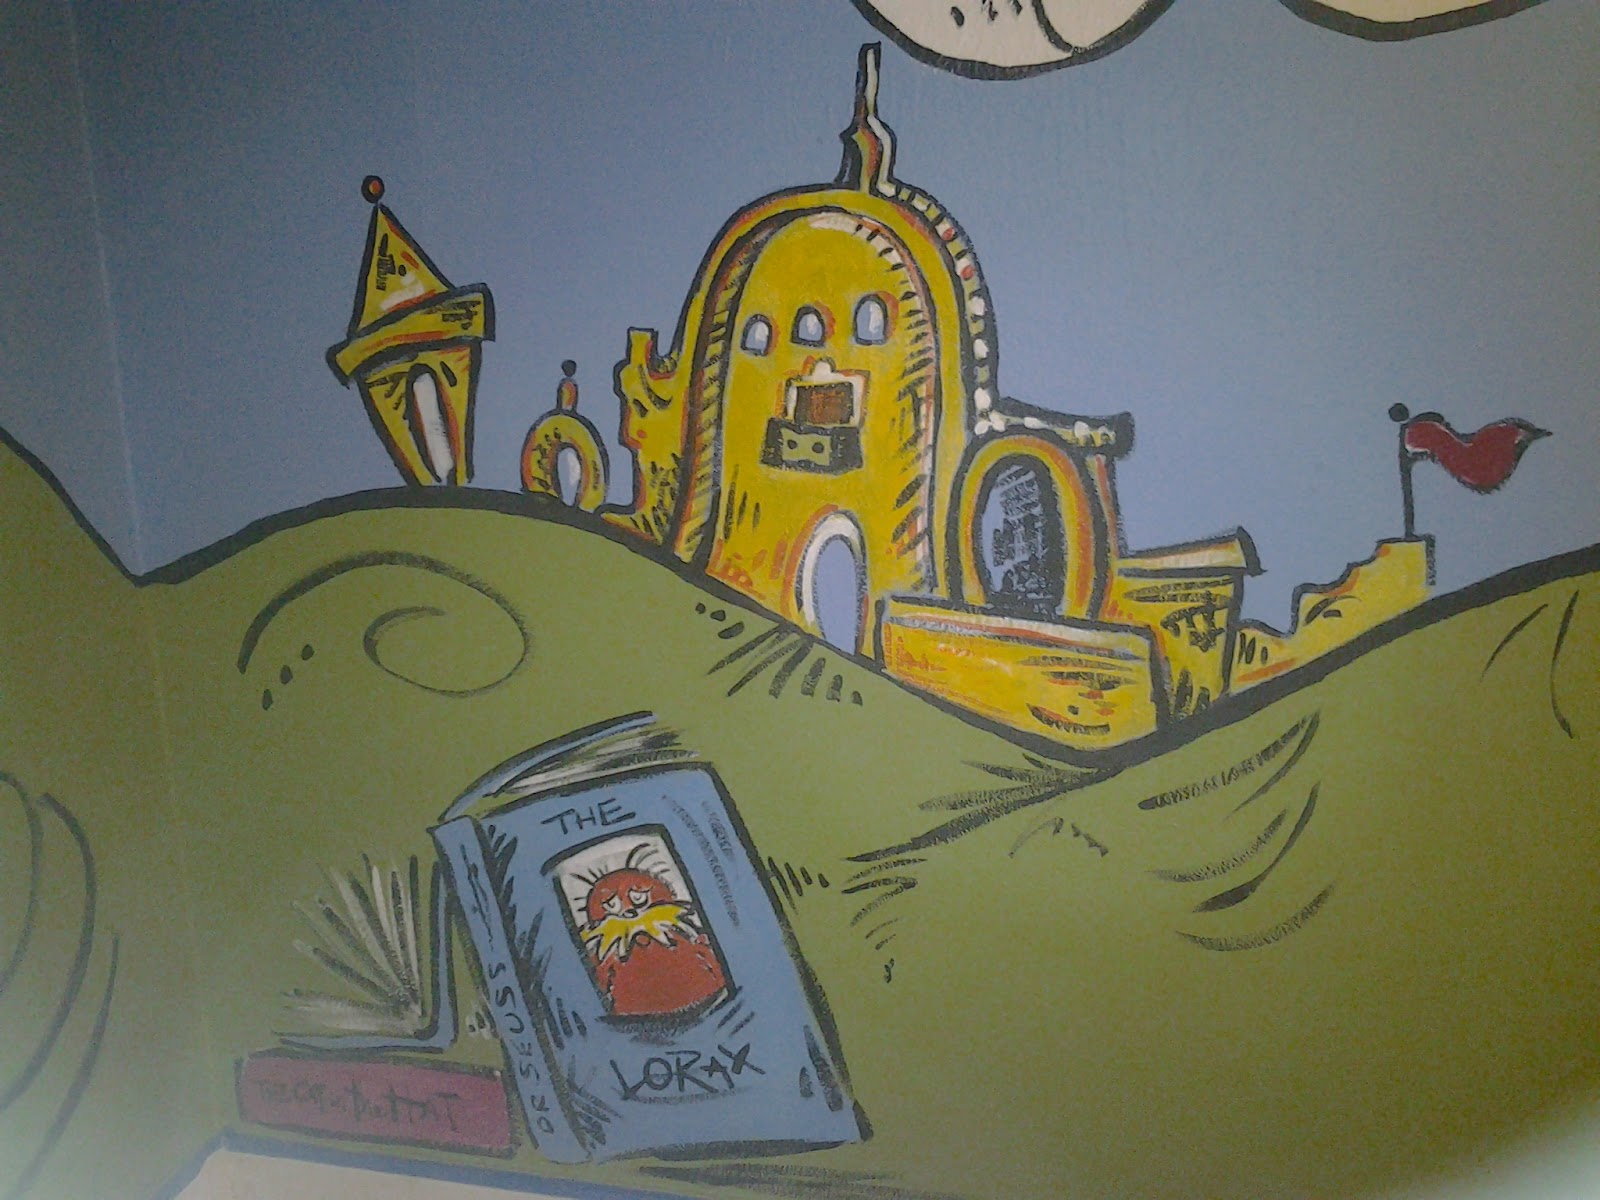
Here's a recap of the paint, in case you didn't see them before the furniture:
Don't you love our artist Robin?!?!
Here's her FB page in case you are interested in her painting something for you (walls, canvases, etc.)


I cannot imagine changing anything and cannot wait to put all of the other little things and necessities in here that will make it a real baby room when we can have a shower after the baby comes home. Thank you so much to all of you that have helped! Future baby Carson is definitely loved by many!!! :)